Mogo WordPress Theme Documentation
- created: 09/19/2018
- latest update: 09/19/2018
- by: SmartDataSoft
- email: support@smartdatasoft.com
Thank you
FIRST STEPS
Into
Mogo WordPress Theme Documentation
Mogo is the best ever WordPress theme you’ve experienced. You will find here all of your previous experiences, all of those you thought if you could had them and all of them you never imagined till now!! With WPBakery Visual Composer plugin based content, new theme admin panel with Redux Framework bring awesome experience with the theme for you.
Get Started
First, thank you for purchasing our theme!
This guide provides instructions for installation, help on getting started and extensive documentation of features. It is recommended you read it thoroughly to fully leverage the Mogo theme's capabilities. We hope you will get lot of flexibility with Mogo as much as we enjoyed developing it and continue to develop with new features!
INSTALLING
Installing WordPress
Before beginning the installation and configuring of your new theme, you must first have WordPress already installed on a server.
If you are struggling, here is a very detailed guide at WordPress Codex that will walk you through every step.
Installing The Theme
Once you have setup a copy of WordPress, there are two ways you can go about installing the theme:
-
1. FTP Upload
Unzip the download and upload the theme directory /Mogo/ into your WordPress themes directory /wp-content/themes/.
-
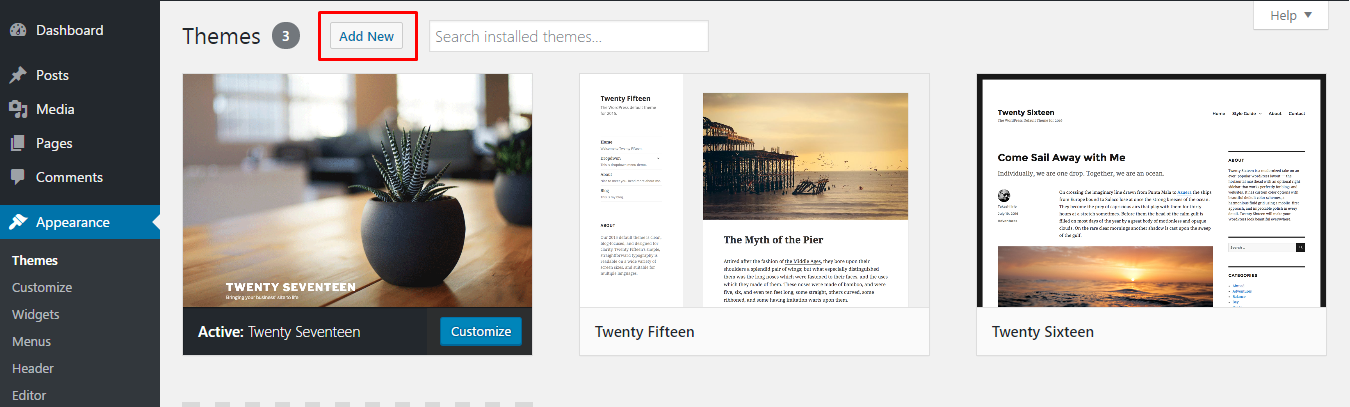
2. WordPress Upload
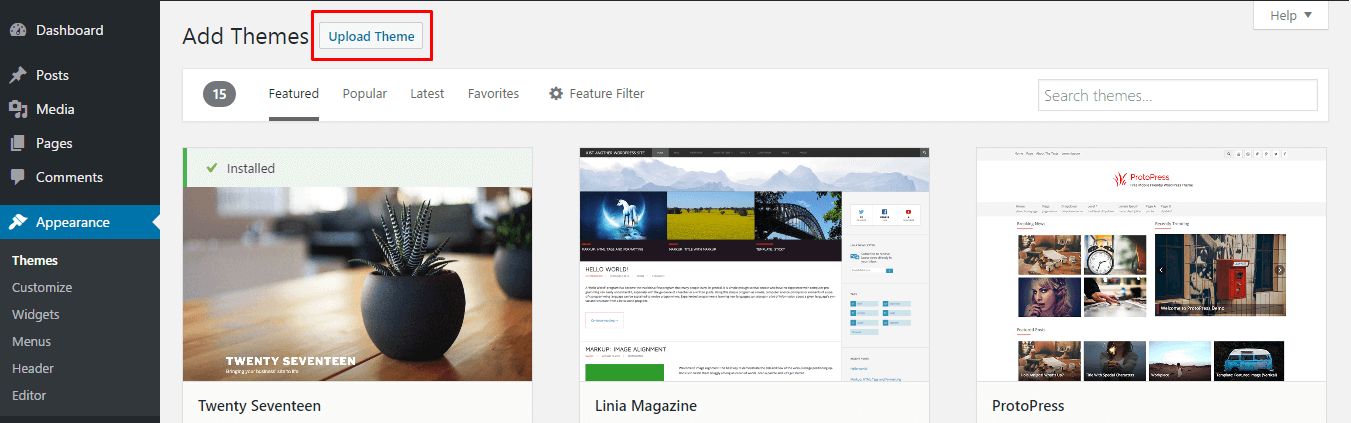
This is definitely the easier route for most. Simply navigate to Appearance > Themes > Add New > Upload Theme. Click the 'browse' button and locate the still zipped theme folder. The theme will be uploaded and installed in a matter of seconds.
-
-
-
-
-

-
-
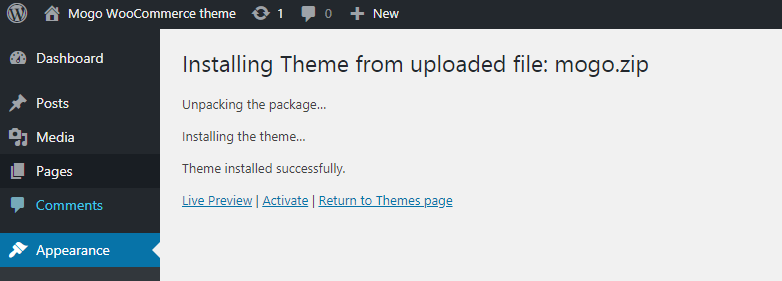
After you have installed the theme successfully, you should have active the theme.
-
-
-
Installing plugins required
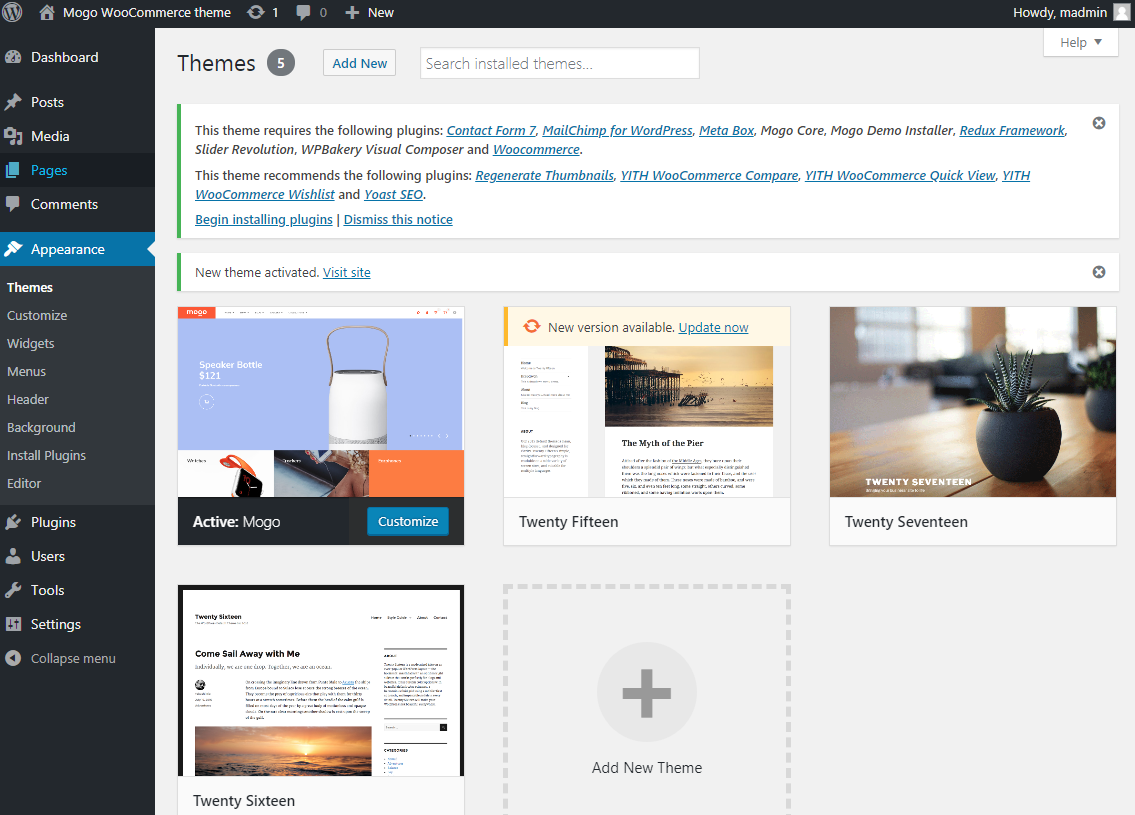
Once you have installed and activated our theme you will be prompted to install required and recommended plugins. You will get better solution after installing those Plugins.
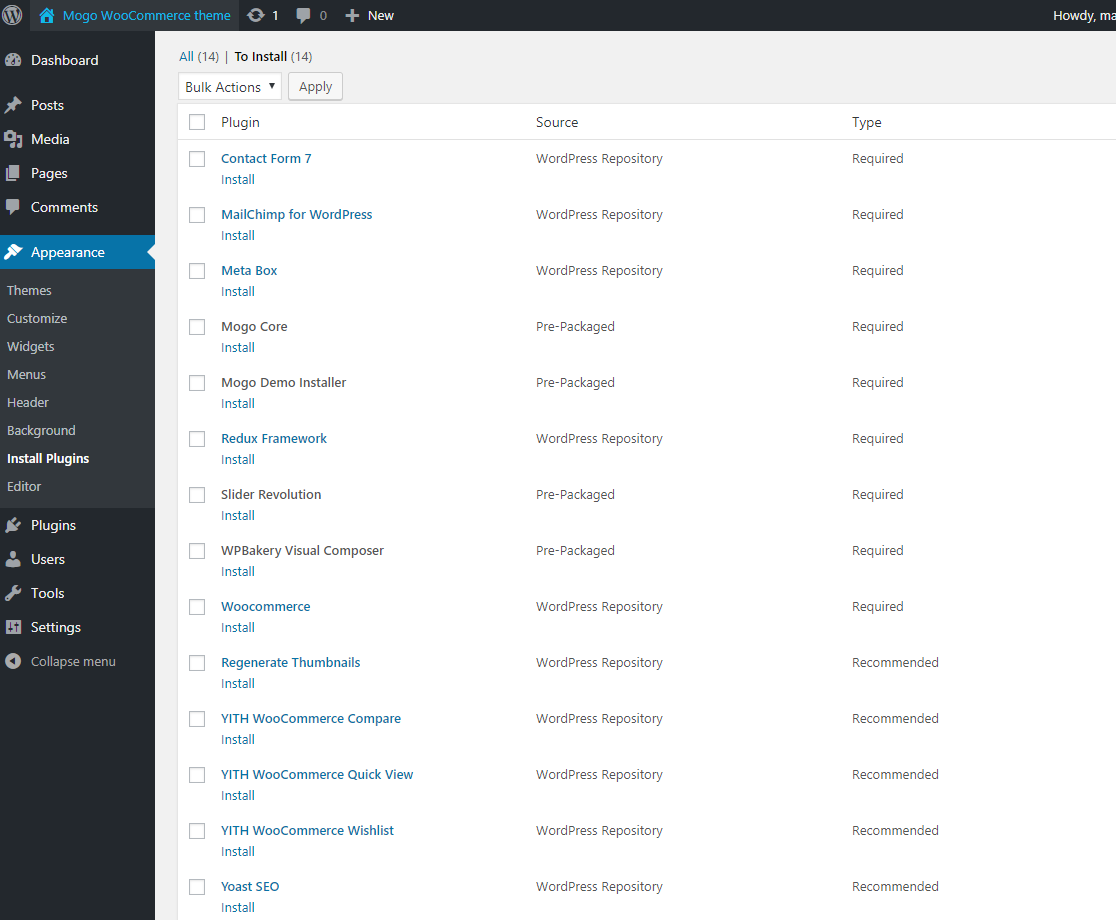
Just click the link to Begin installing plugins.
Next, check boxes to select all the plugins you want to install, select the bulk action of install from the dropdown box and then click the button to apply.
Next, just click the link to Return to Required Plugins Installer.
Select the plugins you had installed, and then apply the bulk action to activate them.
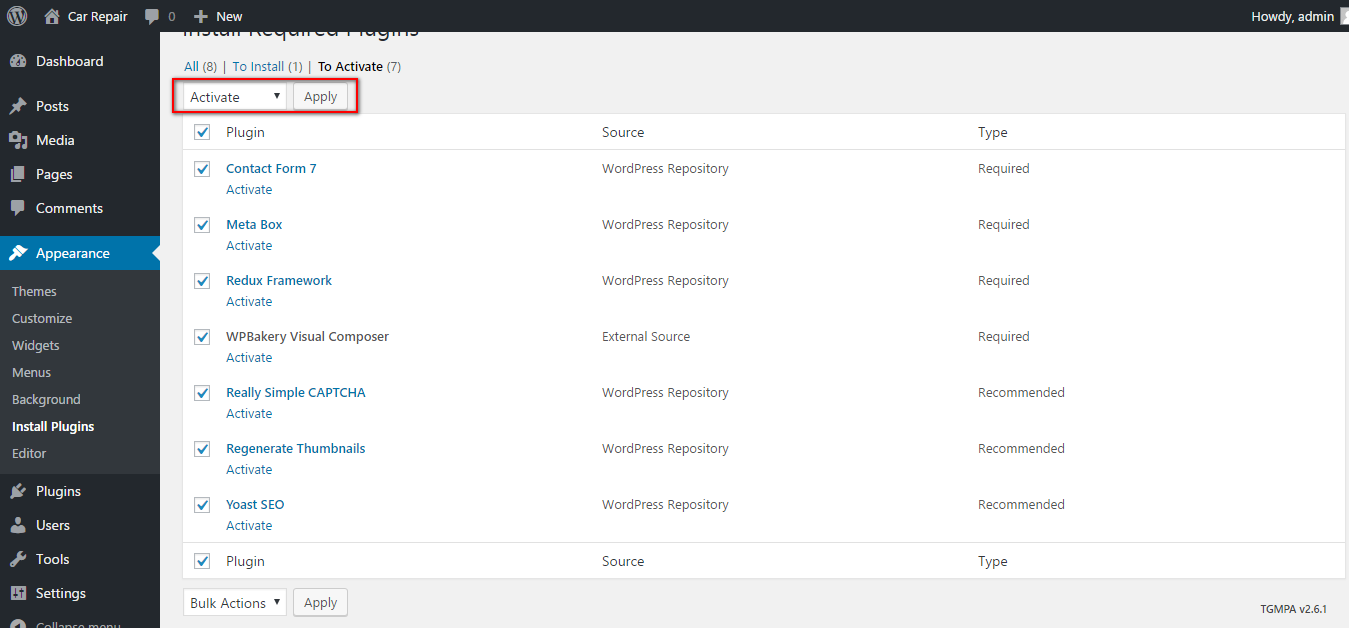
Finally, you will got a confirmation notice that your plugins were activated.
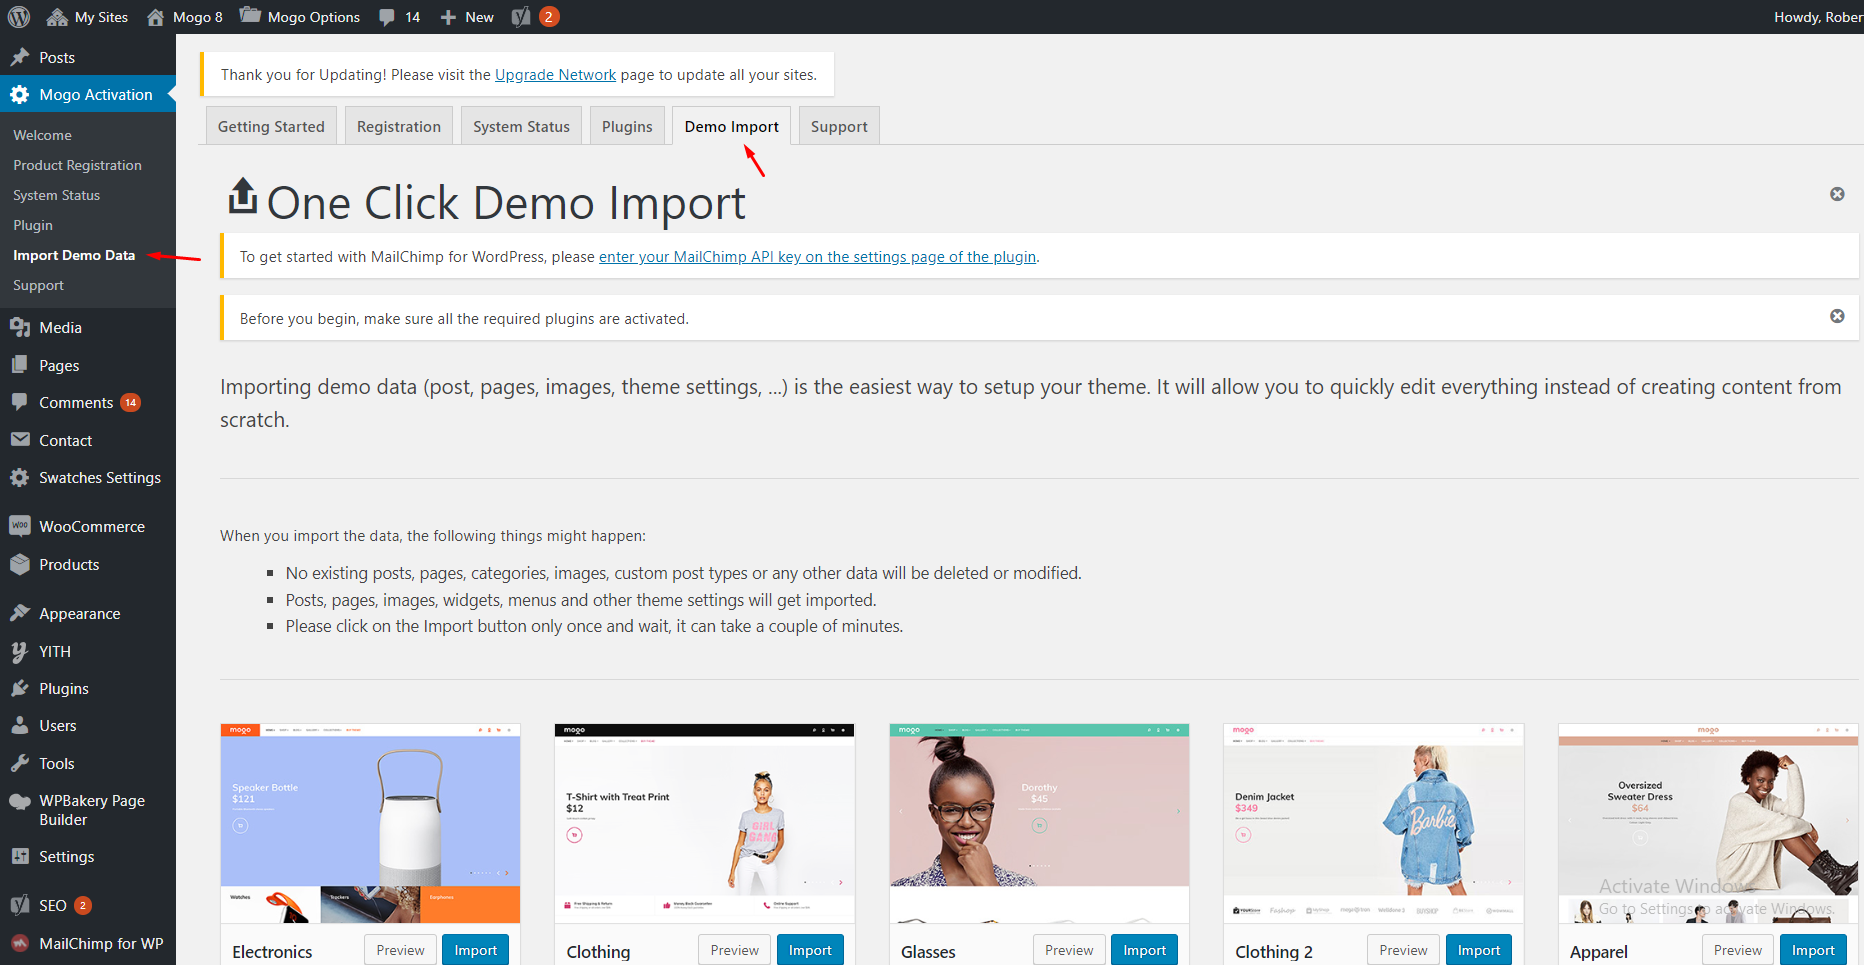
IMPORT DEMO DATA
PLUGINS
After theme installation, you will be ask for install some required plugins. To install and activate all of them,
please navigate to Plugins and install all required Plugins from the following list. You will get better solution after installing those Plugins.
Visual Composer:
Contact Form 7:
MENU
Creating Menu
Go to Appearance > Menus
Now click on create a new menu
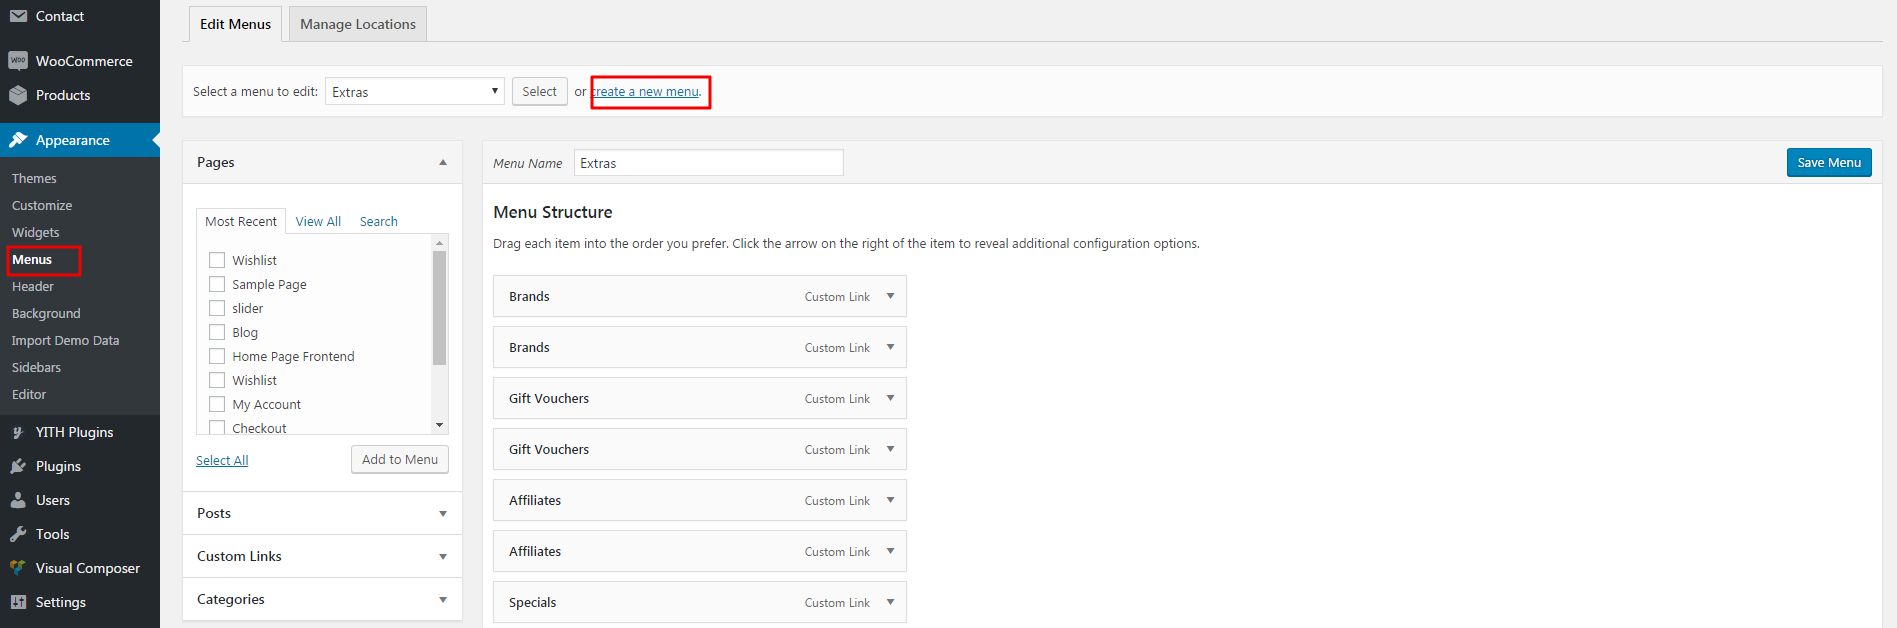
Enter a name in the Menu Name box.

Finally Click the Create Menu button.
PAGES
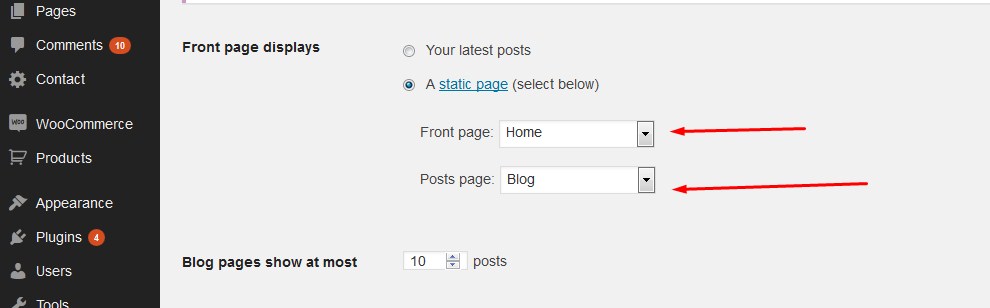
Setting Your Home and Post page
To configure your site after importing XML, you need to set your default wordpress Home and blog page.
Go to Settings > Readings,
Then set your home page as default home and blog page as default blog.
TRANSLATION
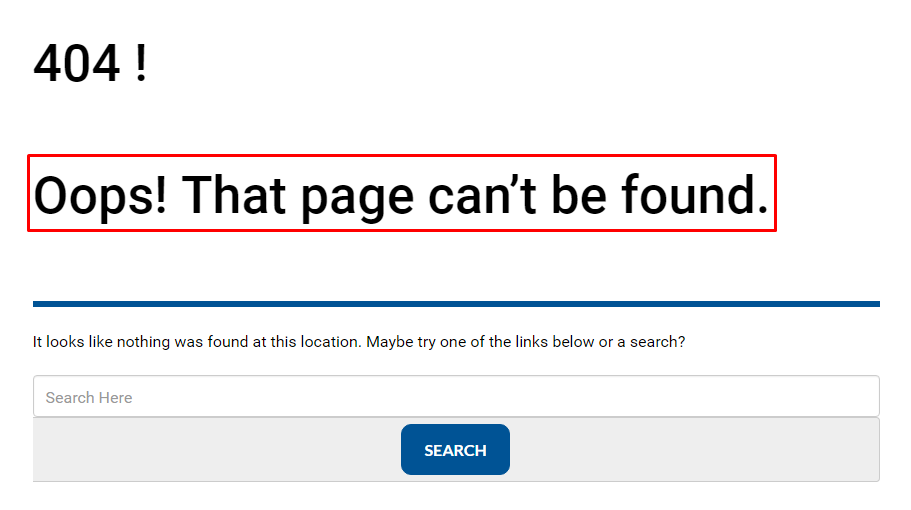
The default language of our all WordPress theme is English. But all themes are translatable for all. So you can build your site in any language with our themes. Let’s get started the translation steps. We’ll translate a text / string into Spanish language one of our theme with Poedit software. Here is the screenshot of example text:
Others theme translation is same as this one. Steps for you:
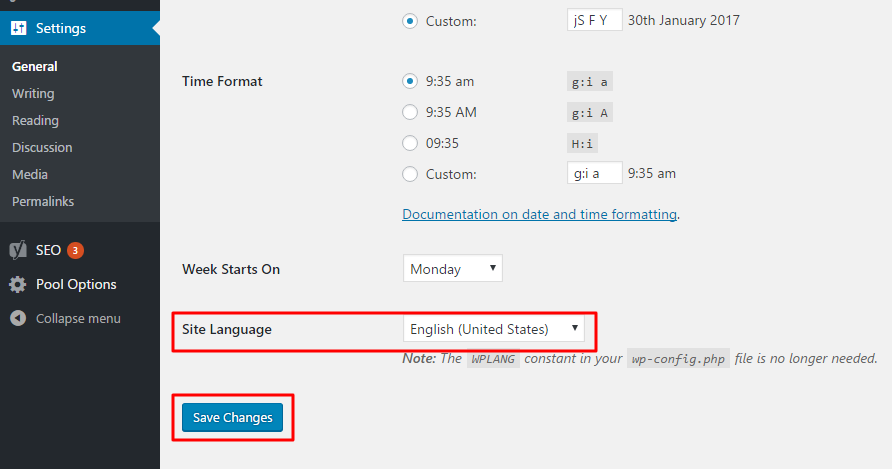
1. Set WordPress Language:
Two way to set WordPress language on your site.
a. Install WordPress in a specific language while setting up your site for the first time.
b. If your site already up and running in English, navigate to Settings > General and set your preferred language from Site Language dropdown. Don’t forget to save changes.
2. Download and Install Poedit:
Download and install Poedit software on your computer to start the process. Here is the download link for you: http://poedit.net/download. Open poedit on your computer.
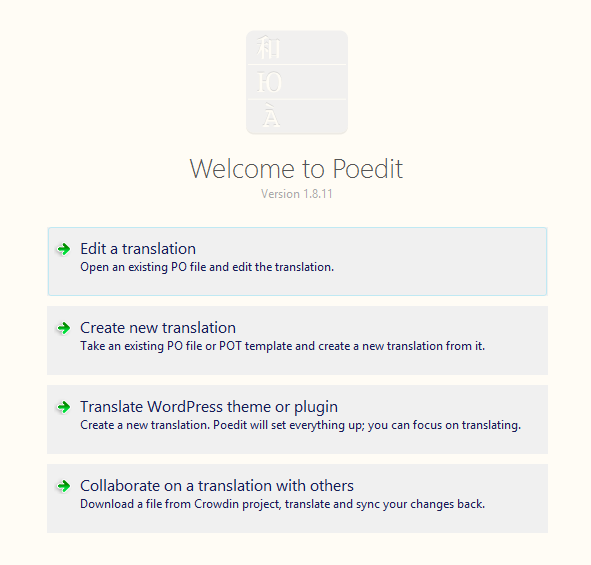
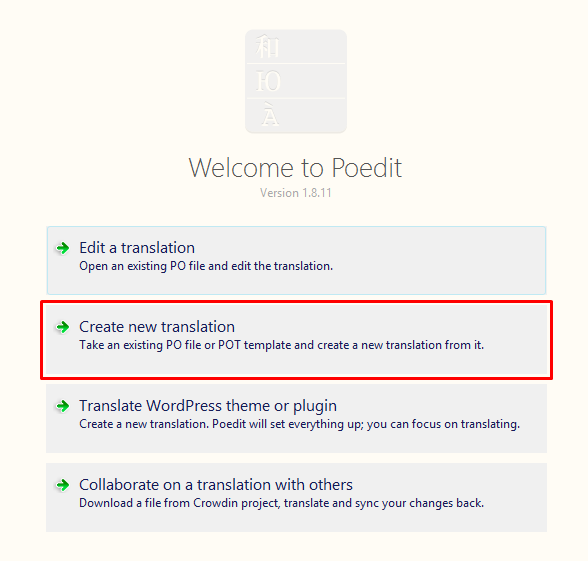
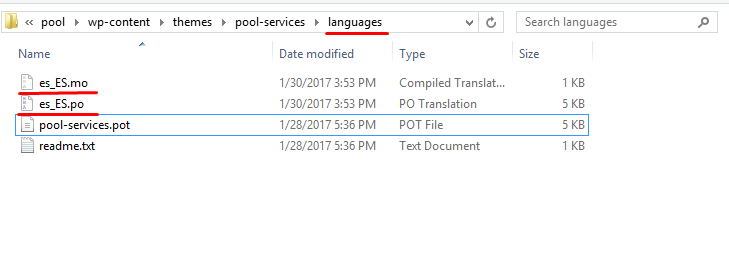
3. Open your theme’s .pot file in Poedit:
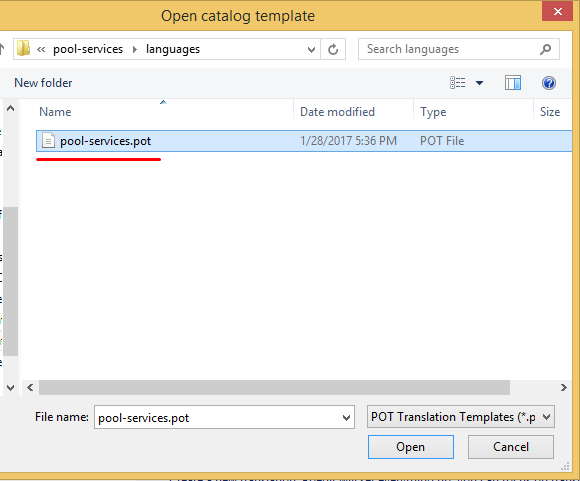
Click on “Create new translation” option of Poedit software and select .pot file of your theme.
We added pool-services.pot of our pool services wordpress theme. You should be able to find it on “languages” folder within the theme folder.
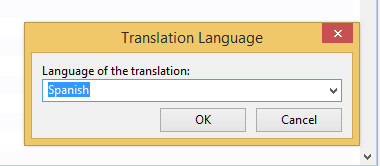
4. Select a language:
Select your preferred language from Poedit software.
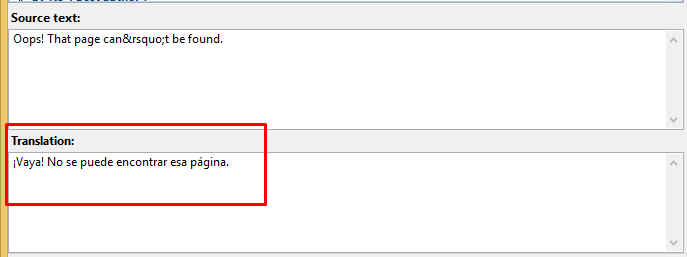
5. Perform the translations:
Now you can translate all texts of your theme. Go through every line of human-readable text and translate it to your preferred language. Just highlight each line one by one, and put the translation in the bottom left box of the Poedit interface.
6. Save translations in .po and .mo form:
When you save your new .po file with Poedit, it’ll automatically generate an additional .mo file and saves it in the same directory on your hard drive.
After saving the files, use any FTP client software to upload both files to the languages folder in your theme’s directory. Now your text/string are translated on your site.

WPML TRANSLATION
Getting Started
If you bought WPML then you get free support from their amazing team http://wpml.org/forums/forum/english-support/
Tutorial recommended by wpml team for translating widgets http://wpml.org/2011/03/howto-display-different-widgets-per-language/
WPML basic usage guide http://wpml.org/documentation/getting-started-guide/
Smartdatasoft support ticketing site https://support.smartdatasoft.com
These are the main steps you need to follow :
- Install the Illusion theme and activate it.
- Install and activate the core WPML plugins (WPML Multilingual CMS, WPML String Translation, WPML Translation Management), and then other WPML plugins that may depend on them.
- Set up WPML from WPML->Languages. See our WPML Getting Started Guide for complete reference, but the initial simple three-step setup is self-explanatory, asking you to choose your default language, a set of active languages, and a language selector. (For starters, choose the footer language selector, you can change this later.)
Translating Illusion Home page
Go to All Pages, and search for 'Home':
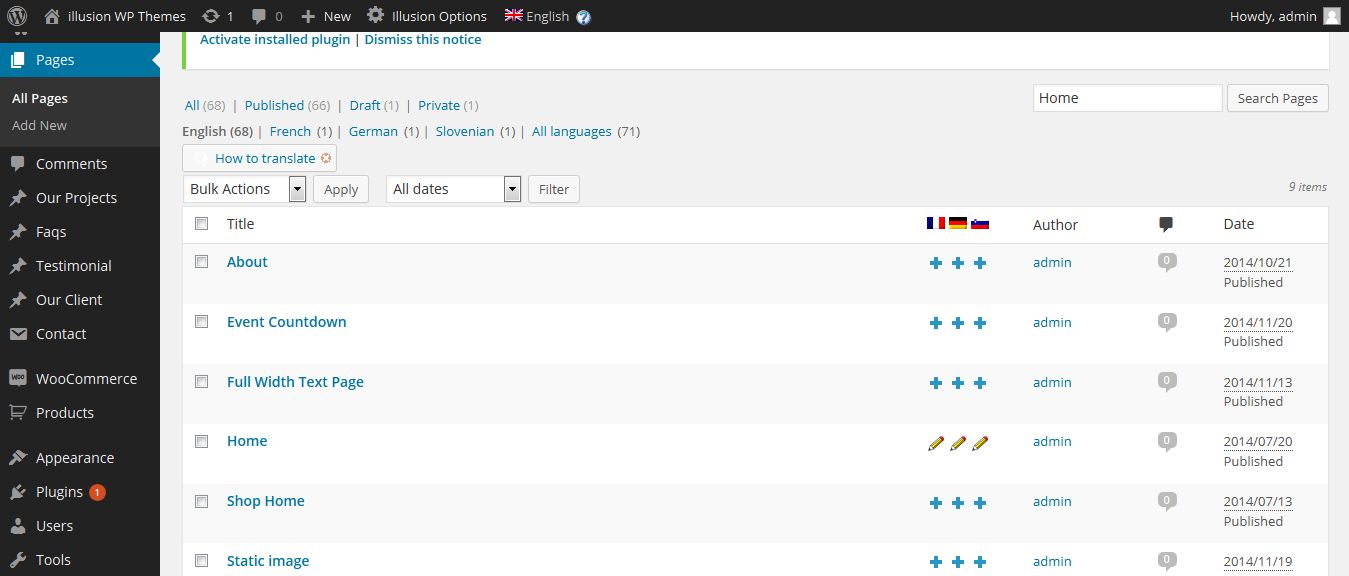
You will see columns for each active language, with a pencil icon (for edit translation) or a + icon (for add translation) next to each page. Go ahead and edit or add the translated page for 'Home Version 1′
Translating other pages and posts
You can translate in a similar way all other pages and posts, including custom post types such as testimoinals.

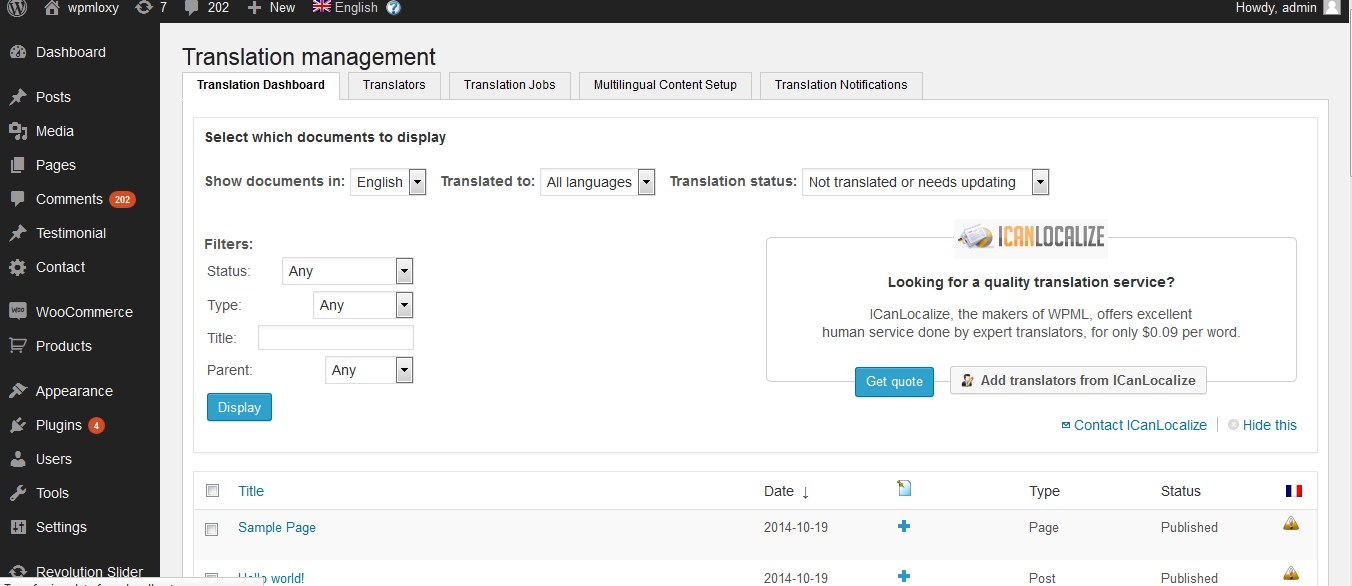
You'll probably be interested in the process of batch duplication of pages and posts. To use this feature, go to WPML->Translation Management, and from the Translation Dashboard (the tab that is opened by default), select the filter you want (Pages/Posts), and click 'Display':
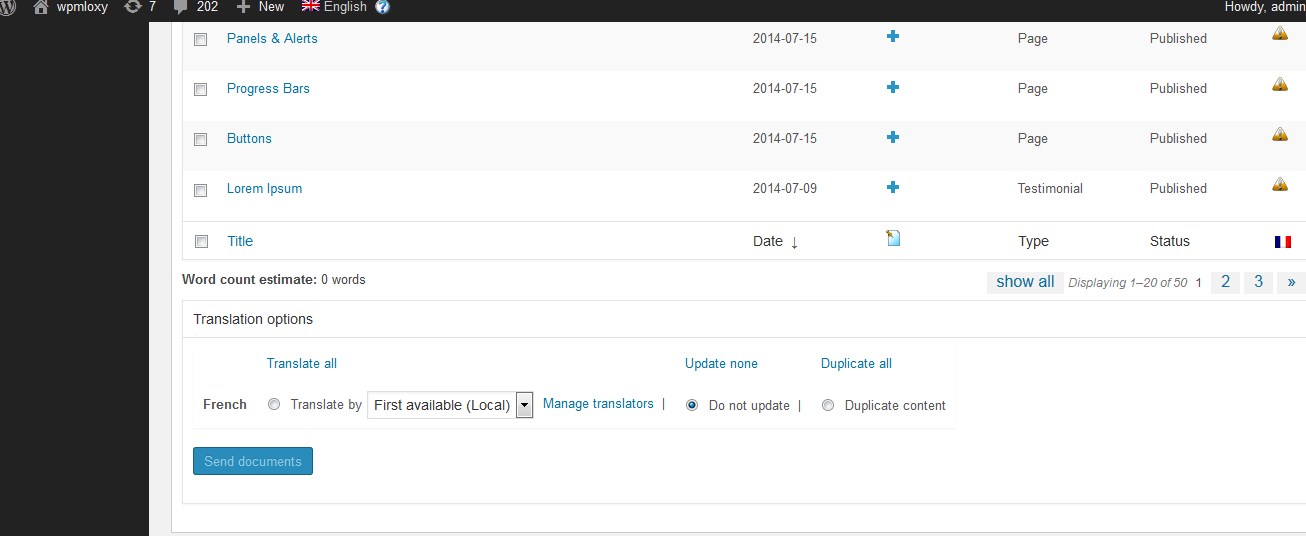
Select the pages or posts you want to translate or duplicate (you can select them all by clicking the checkbox besides the 'Title' header or footer). Then, at the bottom of the page, choose languages for which you want to translate or duplicate, and 'Send Documents':
For more details, see Displaying Untranslated Content using Content Duplication.
In general, with WPML you can always choose between "translating" or "duplicating: content. If you do the former but want to import content from the original you can always use the buttons to 'copy content from the original' in their edit page; if you do the latter (as we did so that all the html in the home page was copied, for example), you can always choose later 'Translate independently' so that you can save your edits. Try both procedures to see which one you find better for your workflow. Submitting for translation instead of duplication will later allow you to edit content from WPML->Translations, which provides WPML Translation Editor.
Translating custom post types and taxonomies
In order to get a similar interface for translation/duplication as for posts and pages, you need to go to WPML->Translation Management, and select the tab 'Multilingual Content Setup'. At the bottom of the page you'll see:
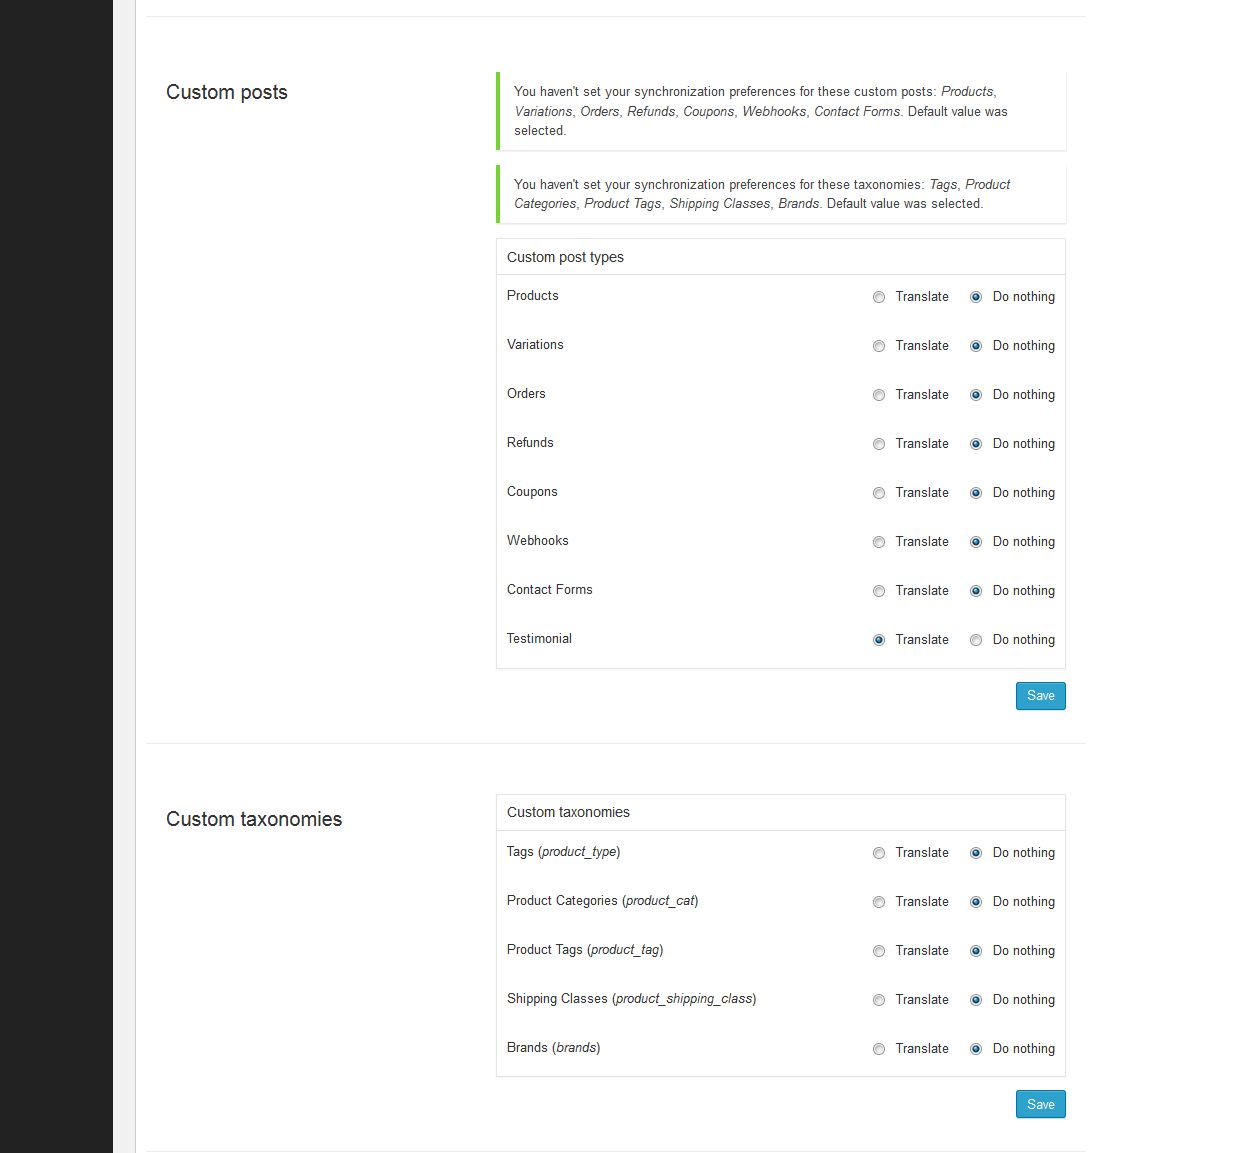
You need to select 'translate' for the custom post types you want to make translatable. Similarly, if you choose 'translate' for custom taxonomies such as 'skills', etc. you'll get a similar interface for translation as for post categories.
Translating Menu
For WPML instrcutions regarding menu-
http://wpml.org/documentation/getting-started-guide/translating-menus/
WPML can synchronize menus for you. This means that if some entries, for example some pages, posts or categories, are in the English menu, WPML can generate and keep in synch menus for other languages pointing to the translated versions of these pages, posts or categories.
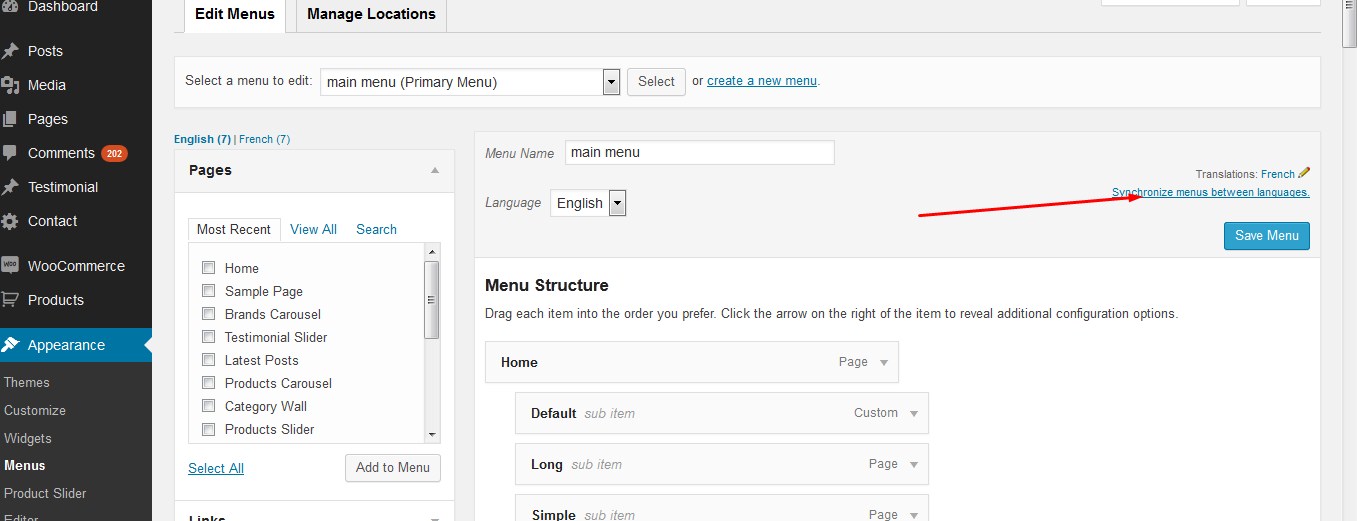
From WordPress Appearance->Menus, and with the imported sample content, you'll see this, Notice the 'Synchronize menu' link top right. When you click on it, you'll see something like this:
By clicking on the Sync button at the bottom of the page (with its informative legends by its side):
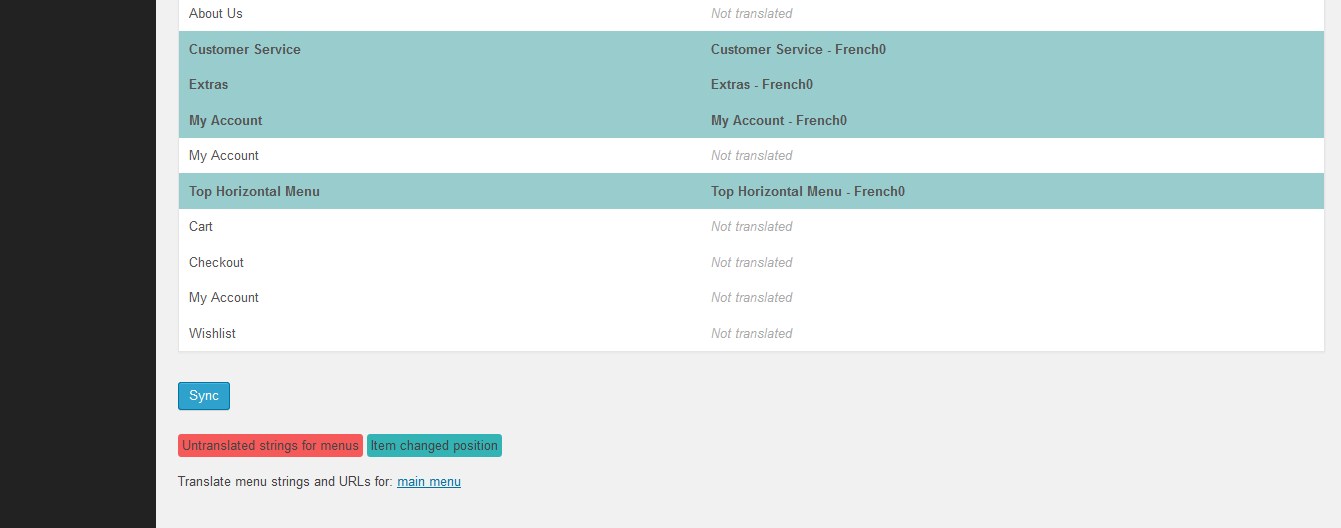
you'll be presented with a set of menu items that can be translated; select them all, and go ahead to apply the changes.
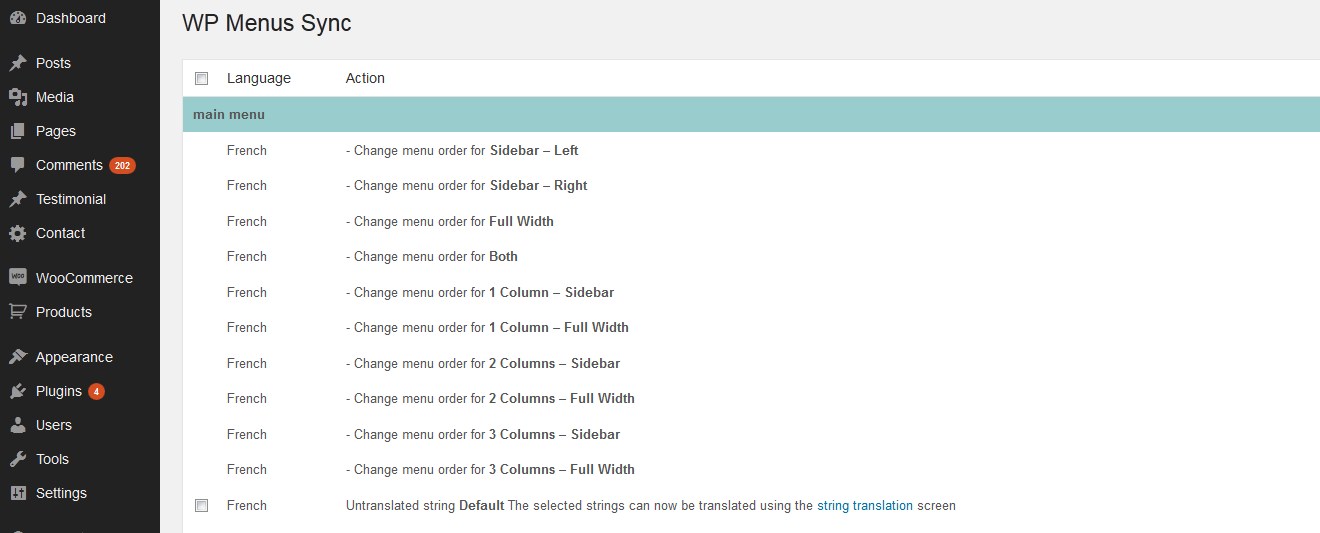
You can also review this information from WPML->WP Menu Sync. In addition, after the synching operation you can individually edit the menus in each language from WordPress Appearance->Menus. This may be needed for example if you have custom links in your menu.
Translating theme texts and other strings in your site
To complete the missing translations you need to follow the procedure for Theme and Plugin Localization. In a nutshell, go to WPML->Theme and Plugin Localization, and click on 'Scan the theme for strings'. After doing it, you'll see something like this:

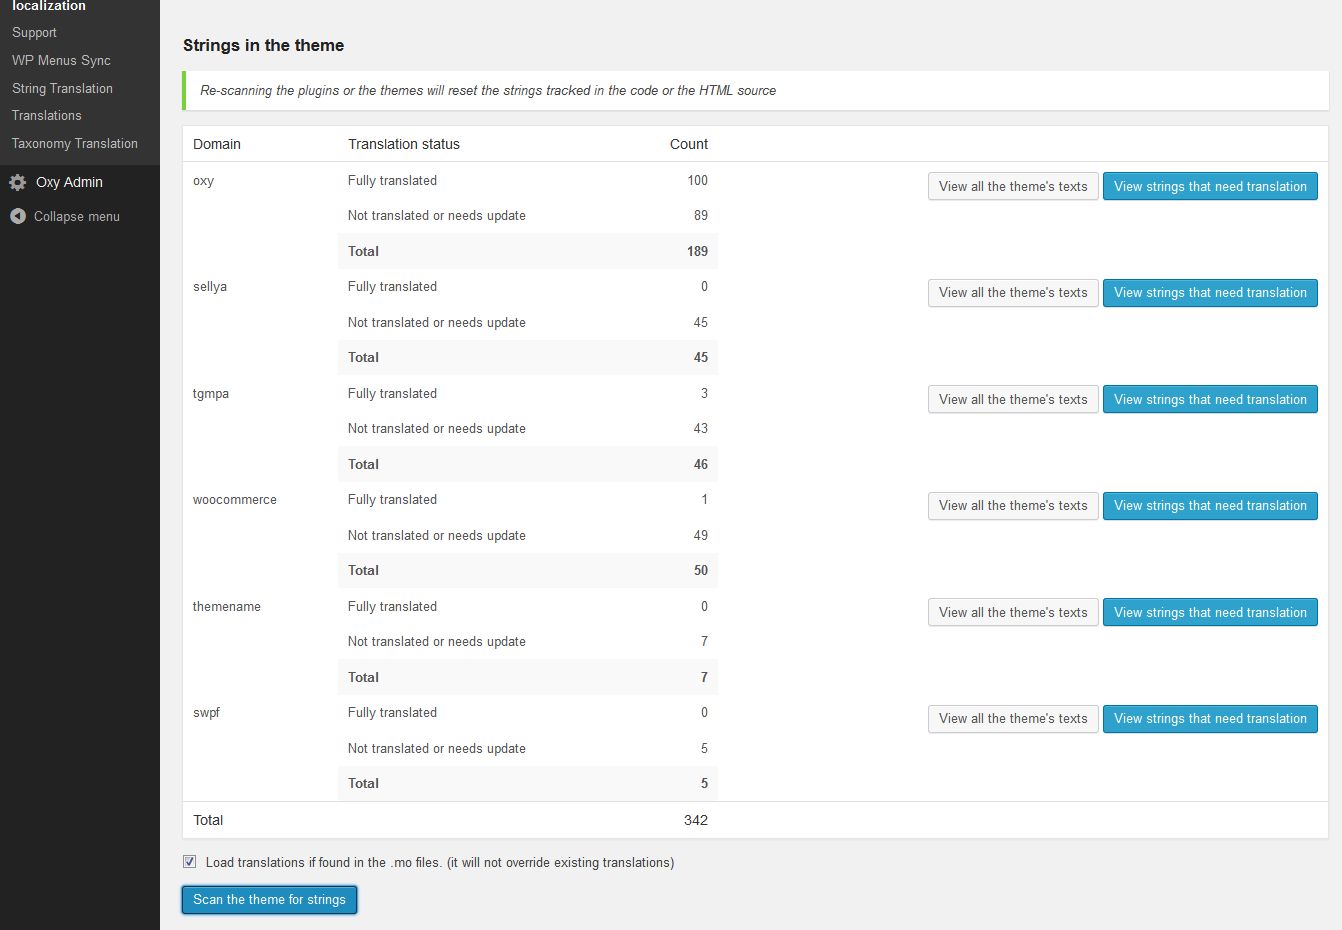
You can then see from WPML->String Translation the theme strings and which ones are translated or not, and complete the translation from there:

Play around with the different filters for this display (on top of the page), such as the "String status" or the "Context".For example, Illusion theme admin has some "Text" input options with text fields.
You can translate all of those texts in the following screenshot-
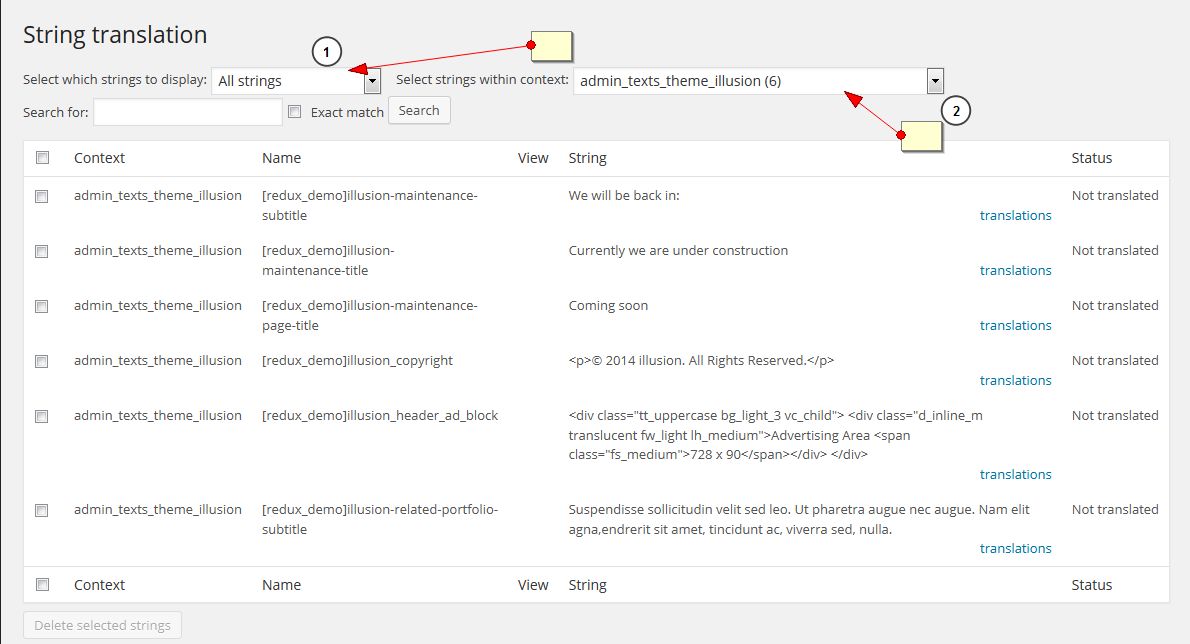
Other strings to watch for: Did you notice texts such as "Latest News" or "Read More" in our home page? Or even WPML texts such as "This post is also available in" ? Have you tried to look at a page with some sidebar widgets, in particular the widget titles? Do you have additional plugins that need translation of their texts? Do go to WPML->String Translation to check what strings have incomplete translations and complete those translations. And if for any reason you don't find the string you want to translate (after following Theme and Plugin Localization instructions), try turning on one of the options to "autoregister strings" (settings at bottom of WPML->String Translation) to register some strings when seen on the front end, or contacting the theme or plugin authors if needed.
SUPPORT
Thanks a lot for using this amazing theme. Hope you found this documentation helpful for using this theme. Please support this product by giving your ratings and testimonial. For any further help, you can visit our help site-
http://support.smartdatasoft.com
With best wishes-
Team Smartdatasoft